I’ve always enjoyed listening to music—especially at high volumes. However, I never had access to equipment that delivered both high-quality and loud audio simultaneously. Even midrange loudspeakers typically started at around 200 USD, while offering only 100–120 W of power.
One day, I connected my mother's 30 year old Sony Hi-Fi speakers (50 W × 2) to an amplifier, and it felt like magic: deep bass, clean mids, and crisp trebles. Although I’m not a professional, I truly appreciated the sound quality. Curious, I searched their market value online and, to my surprise, found that they were being sold for just 20 USD per pair. I wondered, “What about 100 W models?” They turned out to be only around 30-40 USD per pair.
Amazed by the price-to-performance ratio, I decided not to buy a consumer-ready product. Instead, I chose to take matters into my own hands and build a semi-portable speaker system using old tower speakers.

I set a maximum budget of 100 USD for the entire project and began gathering the necessary components.
I found a pair of Sony SS-H170 speakers in good condition on a second-hand marketplace listed for 50 USD. After some negotiation, I purchased them for 35 USD.

Image 1: Sony SS-H170 speakers placed on top of a cabinet in my dorm room, hand for size reference.

There began my search for a suitable power supply and amplifier to establish the basic setup. I chose to run the system on 24V to reduce current draw and minimize the risk of cable heating. After accounting for inefficiencies, I opted for a 24V 15A LED power supply—providing sufficient thermal performance, upgrade headroom, and stable operation without overloading the PSU, all while remaining cost-effective. I acquired the power supply for 15 USD, shipping included.
​​​​​​​
As an amplifier, I chose the cheapest Bluetooth model available—something I would later come to regret: the XY-ZK-1002 by WUZHI, purchased from AliExpress. I paid 25 USD for the amplifier and an additional 5 USD for shipping.
Driven by excitement and curiosity, I decided to test the components before proceeding with a full all-in-one assembly.

Image 2: Fully wired setup without casing, with electronics placed in front of my dorm room window.

Image 3: Fully wired setup without casing, with speakers placed on top of a cabinet.

My first regret began at this point: despite testing both mono and stereo modes on my phone, the left channel remained unresponsive. Left without alternatives, I wired both speakers to the right channel and continued listening in mono mode. Despite this issue, it was still a pleasure to experience high-fidelity audio—for a total cost of just 80 USD!

With a sense of satisfaction, I began building a casing to house all the electronic components internally.

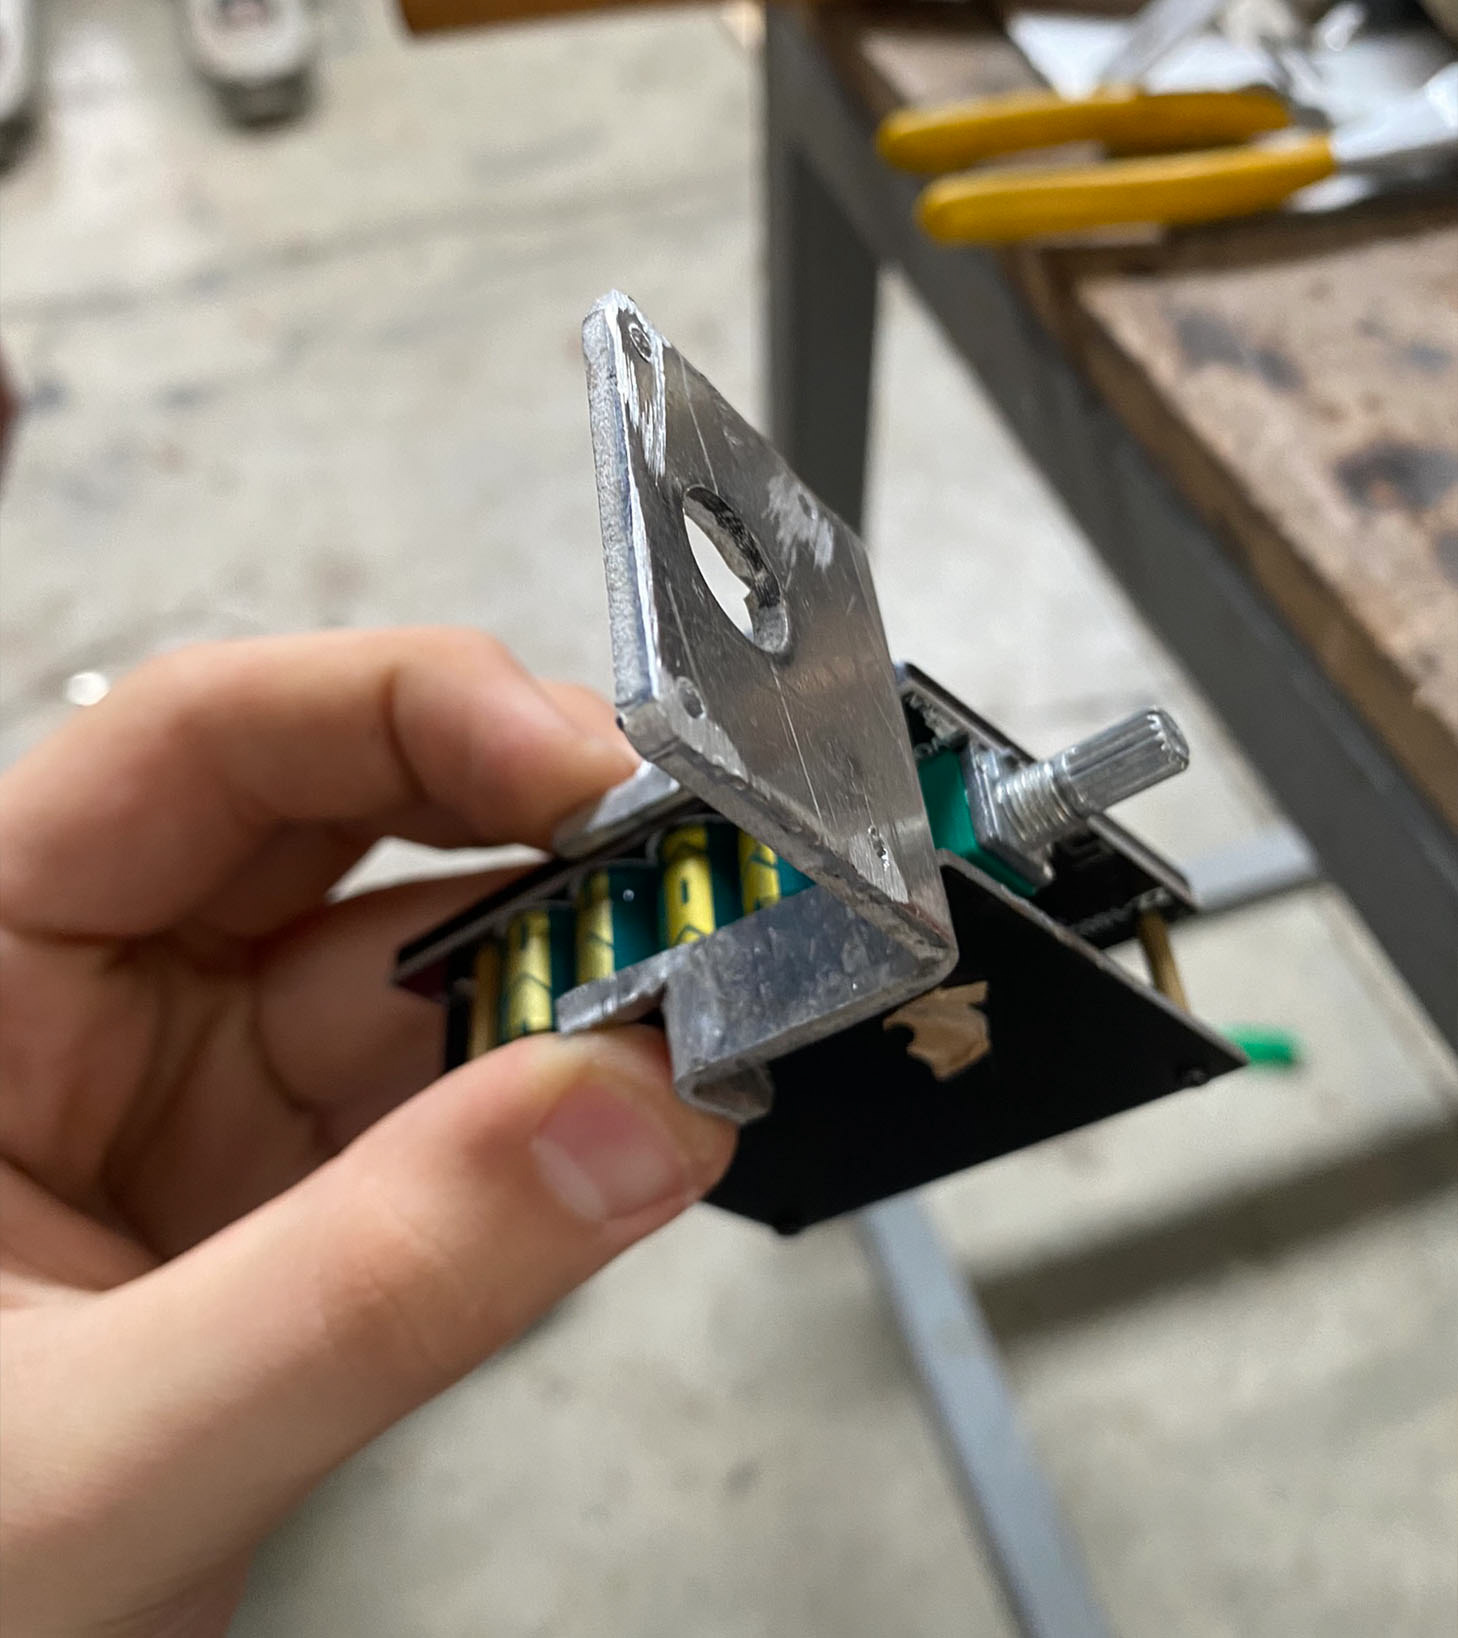
Image 4: Custom-made amplifier holder designed to enhance structural reliability.

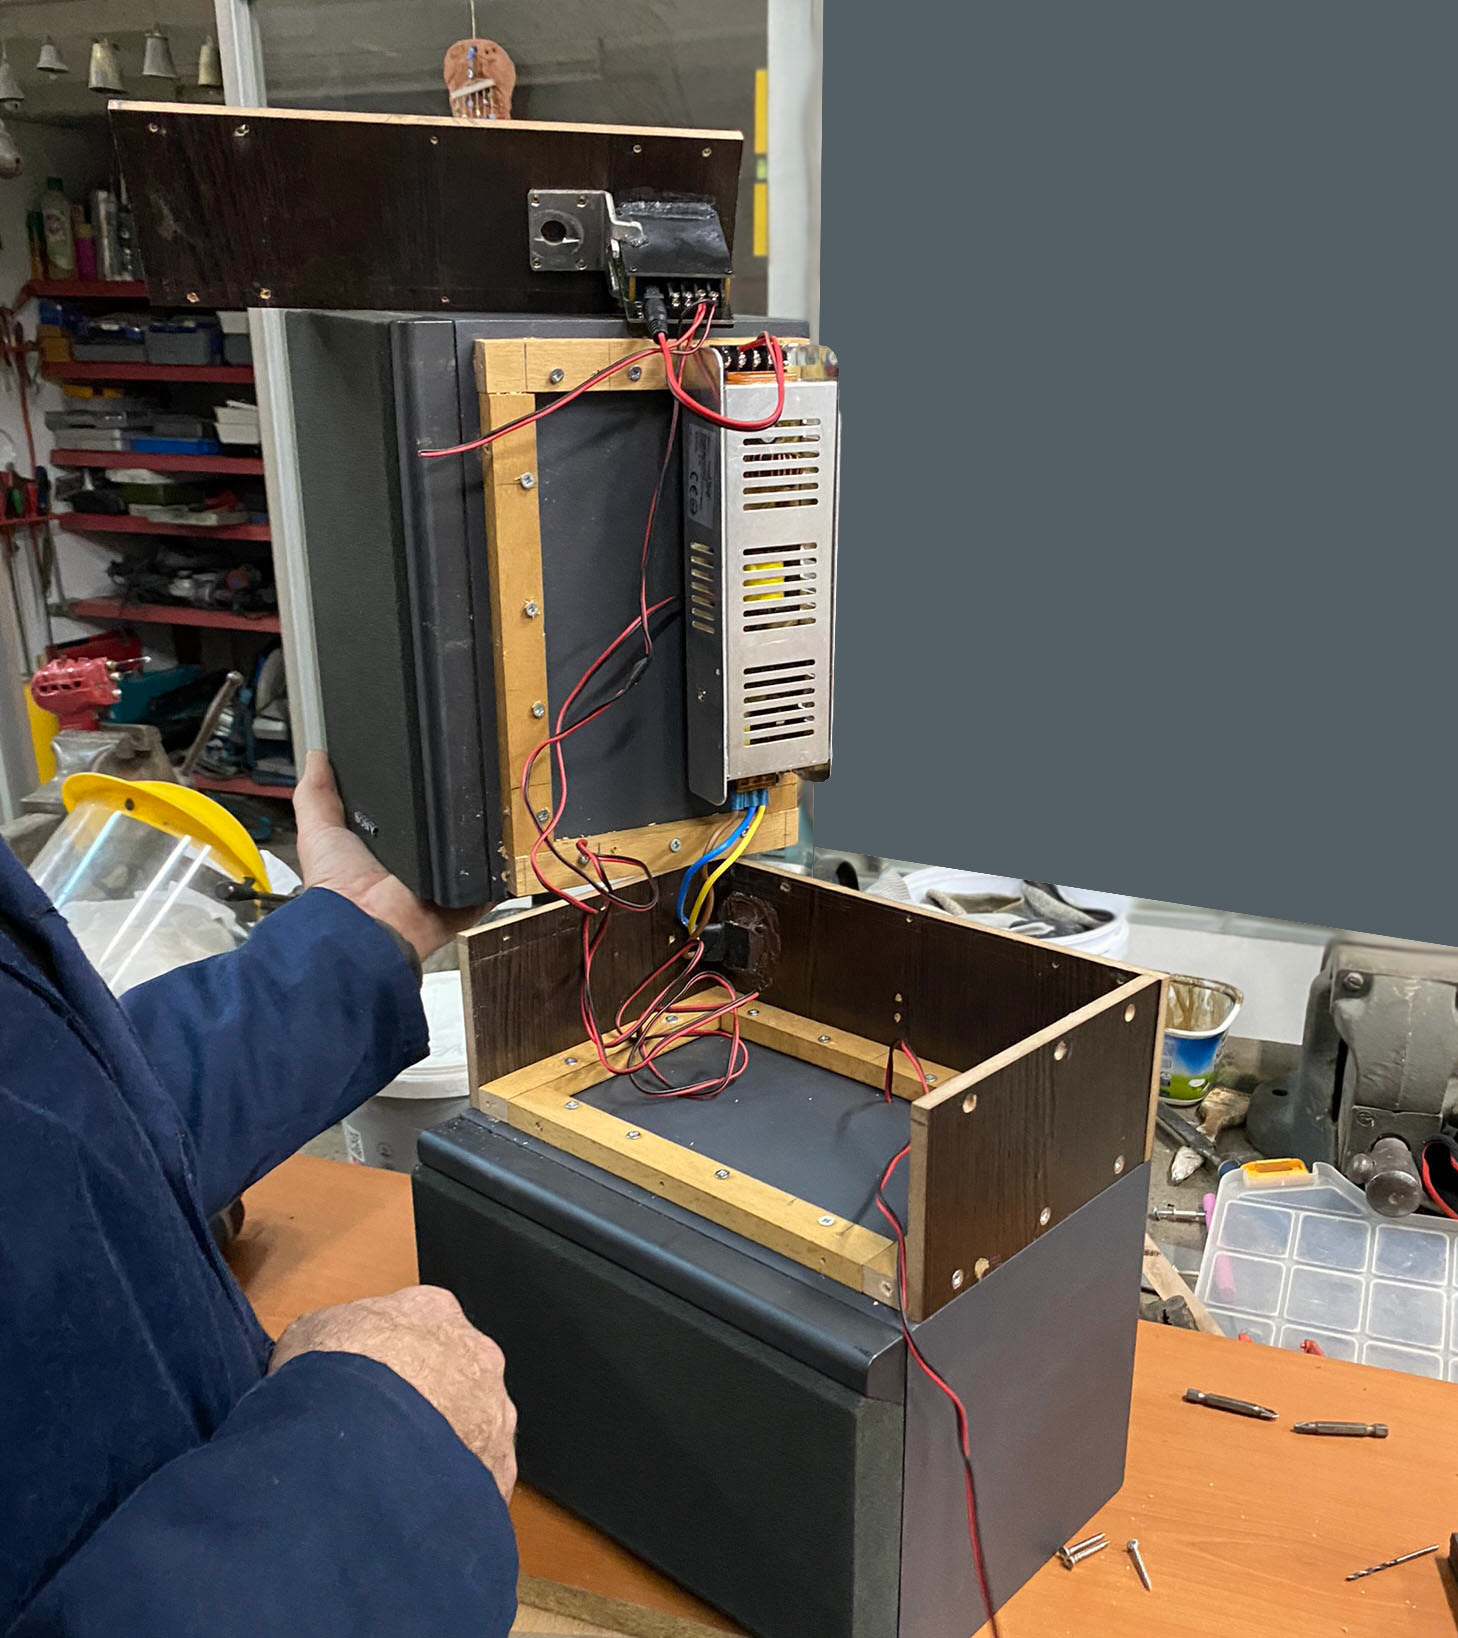
Image 5: Pre-assembly photo taken shortly before finalizing the build.

Assembly details:
I added a female power cord connector to the back to enhance mobility and allow for variable cable lengths.
The structure was designed to be disassemblable, allowing for future upgrades and maintenance.
Old wire holes were sealed using polyester filler to preserve the intended bass volume-to-port size ratio.

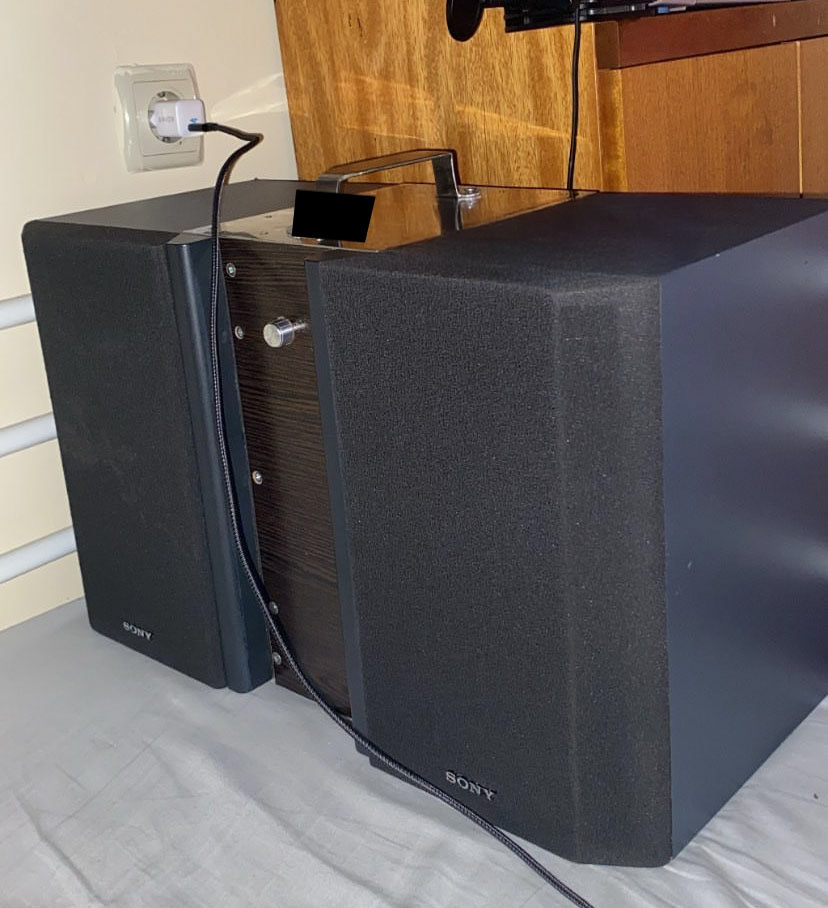
Image 6: Completed assembly, fully enclosed and operational.

After 5 to 6 months of use, the amplifier burned out. This was the moment I truly regretted opting for the cheapest option initially. As a result, I decided to invest in a proper, high-quality amplifier. After researching, I settled on the Sinilink XY-T100H, which featured onboard bass and treble controls as well as a decent mobile app. Due to time constraints, I left the burnt-out amplifier inside the case and mounted the new Sinilink unit externally, straight out of the box.

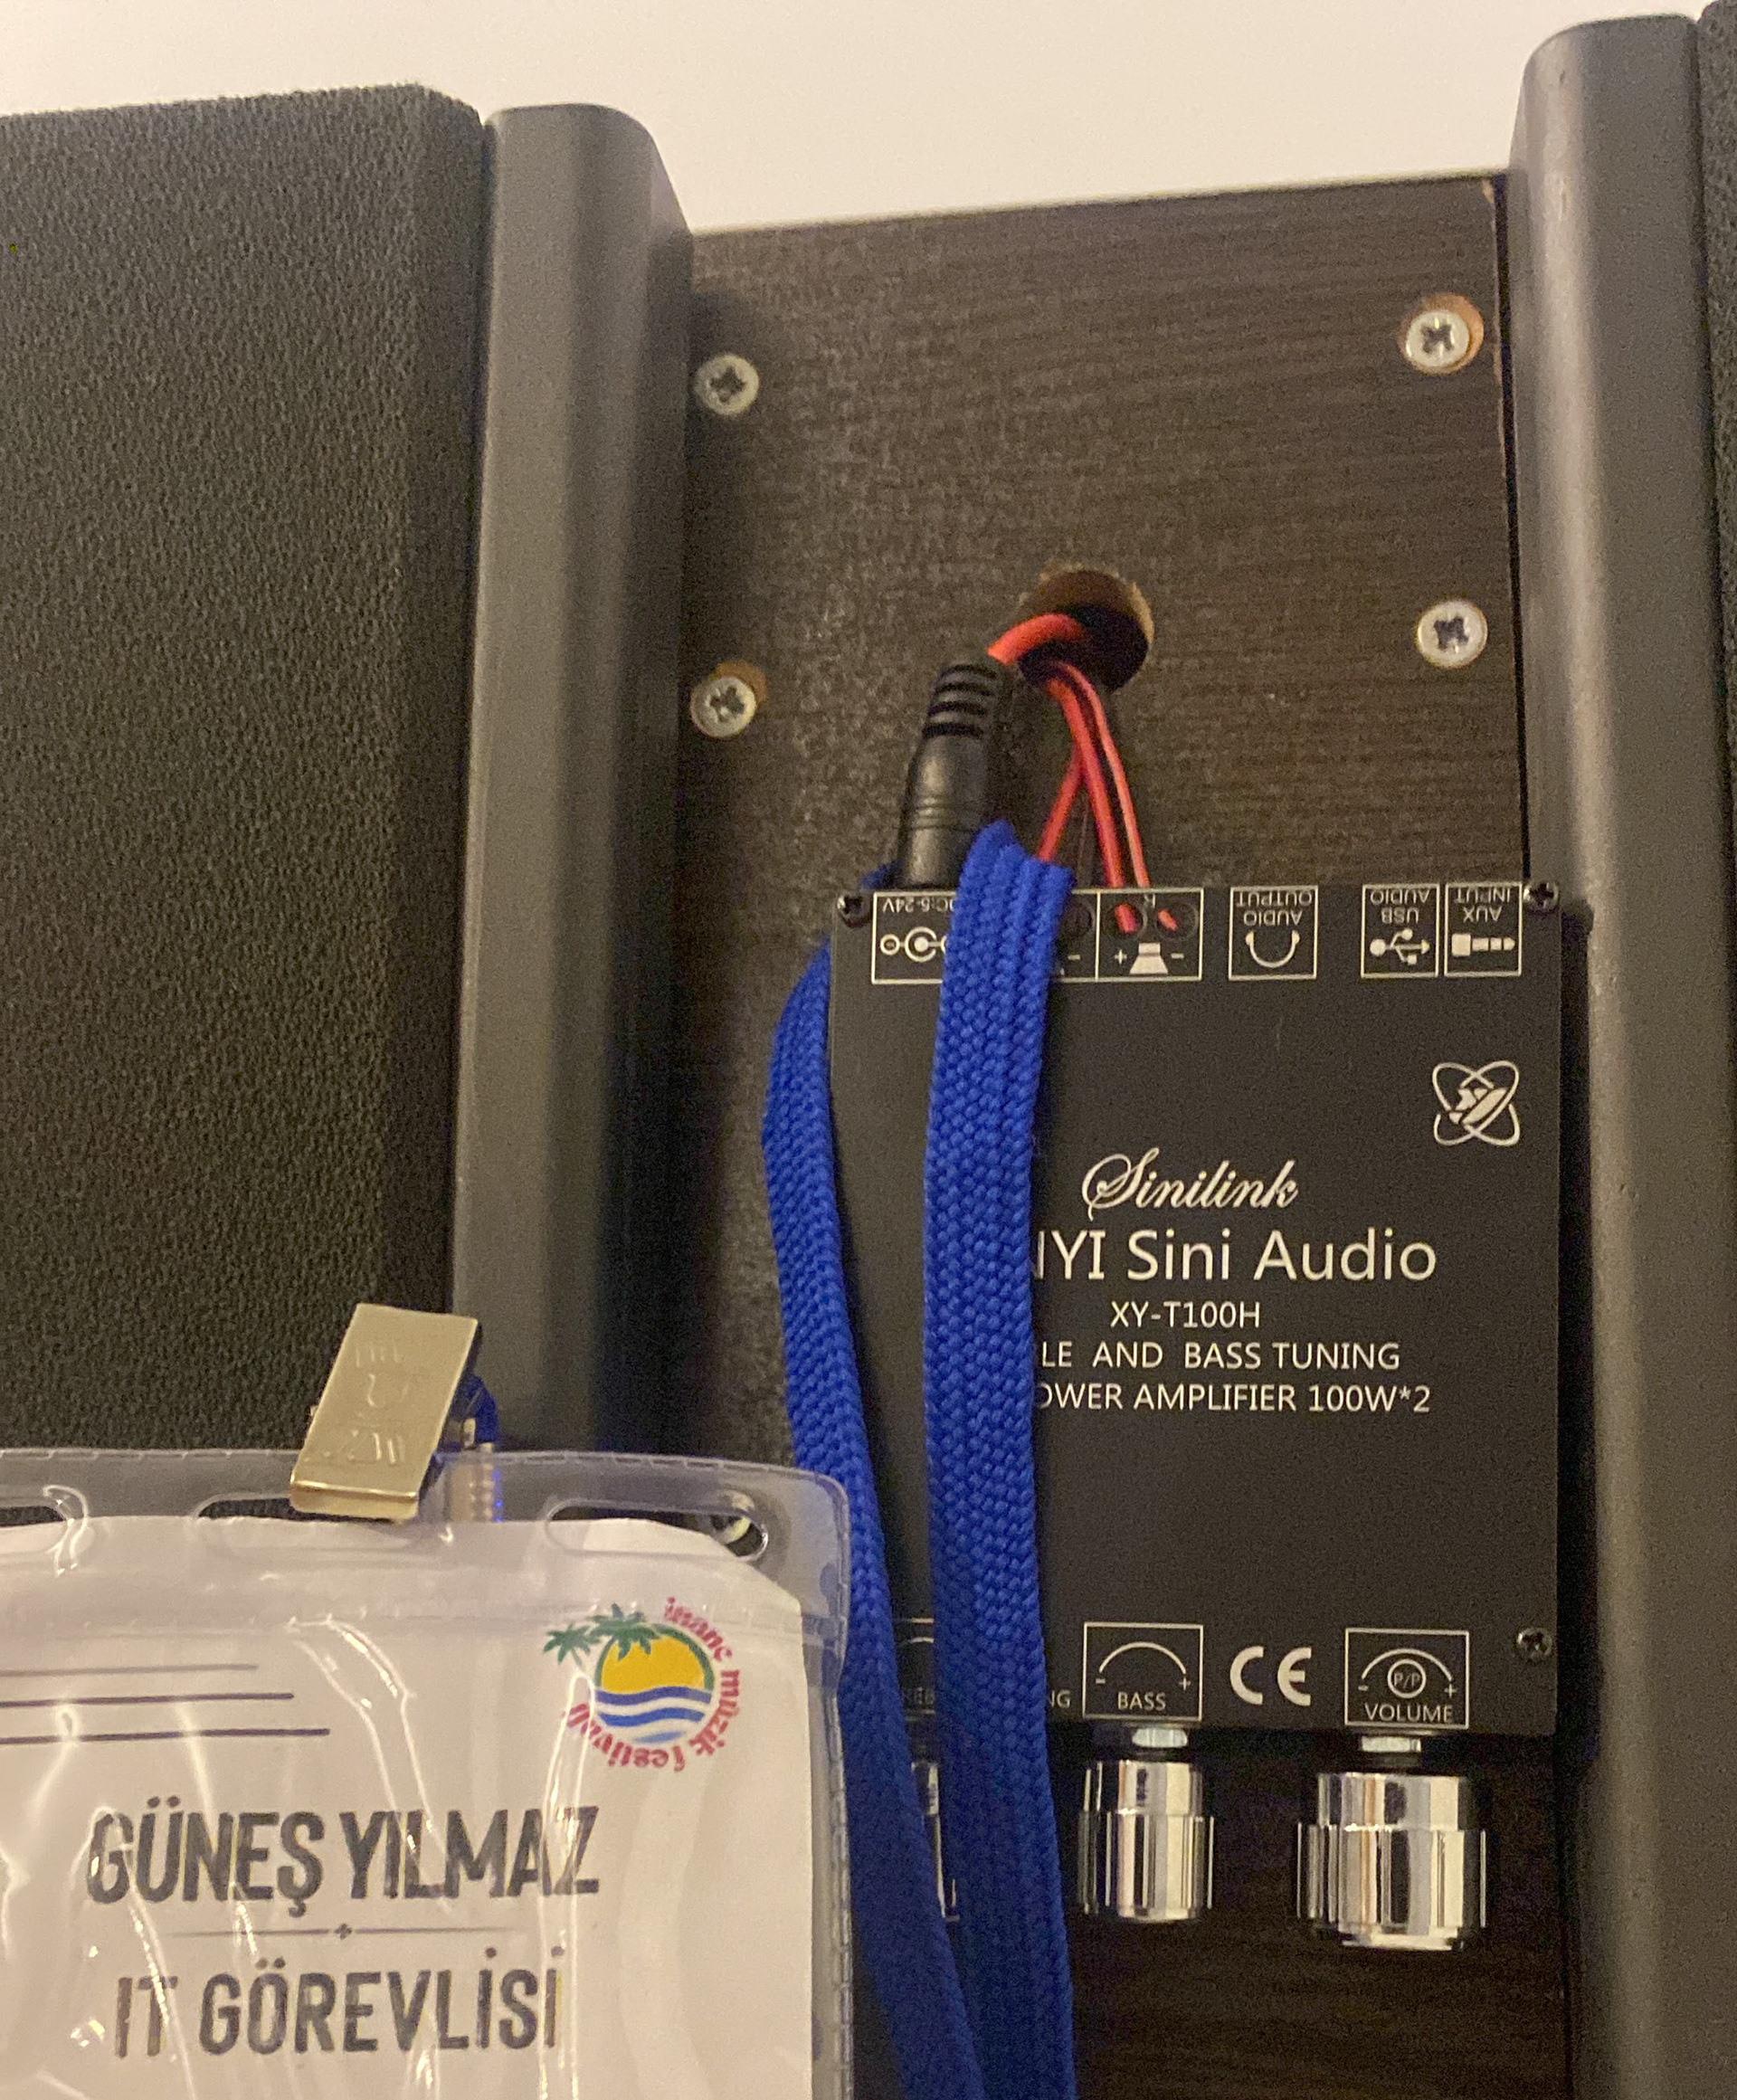
Image 7: Build shown after mounting the XY-T100H amplifier.

I used the speaker in this configuration until the school year ended for summer break. After returning to my hometown and meeting up with friends, I resumed work on the TowerPort One. The first step was removing the externally mounted amplifier from its hanging position Then, I fully disassembled the entire speaker unit.

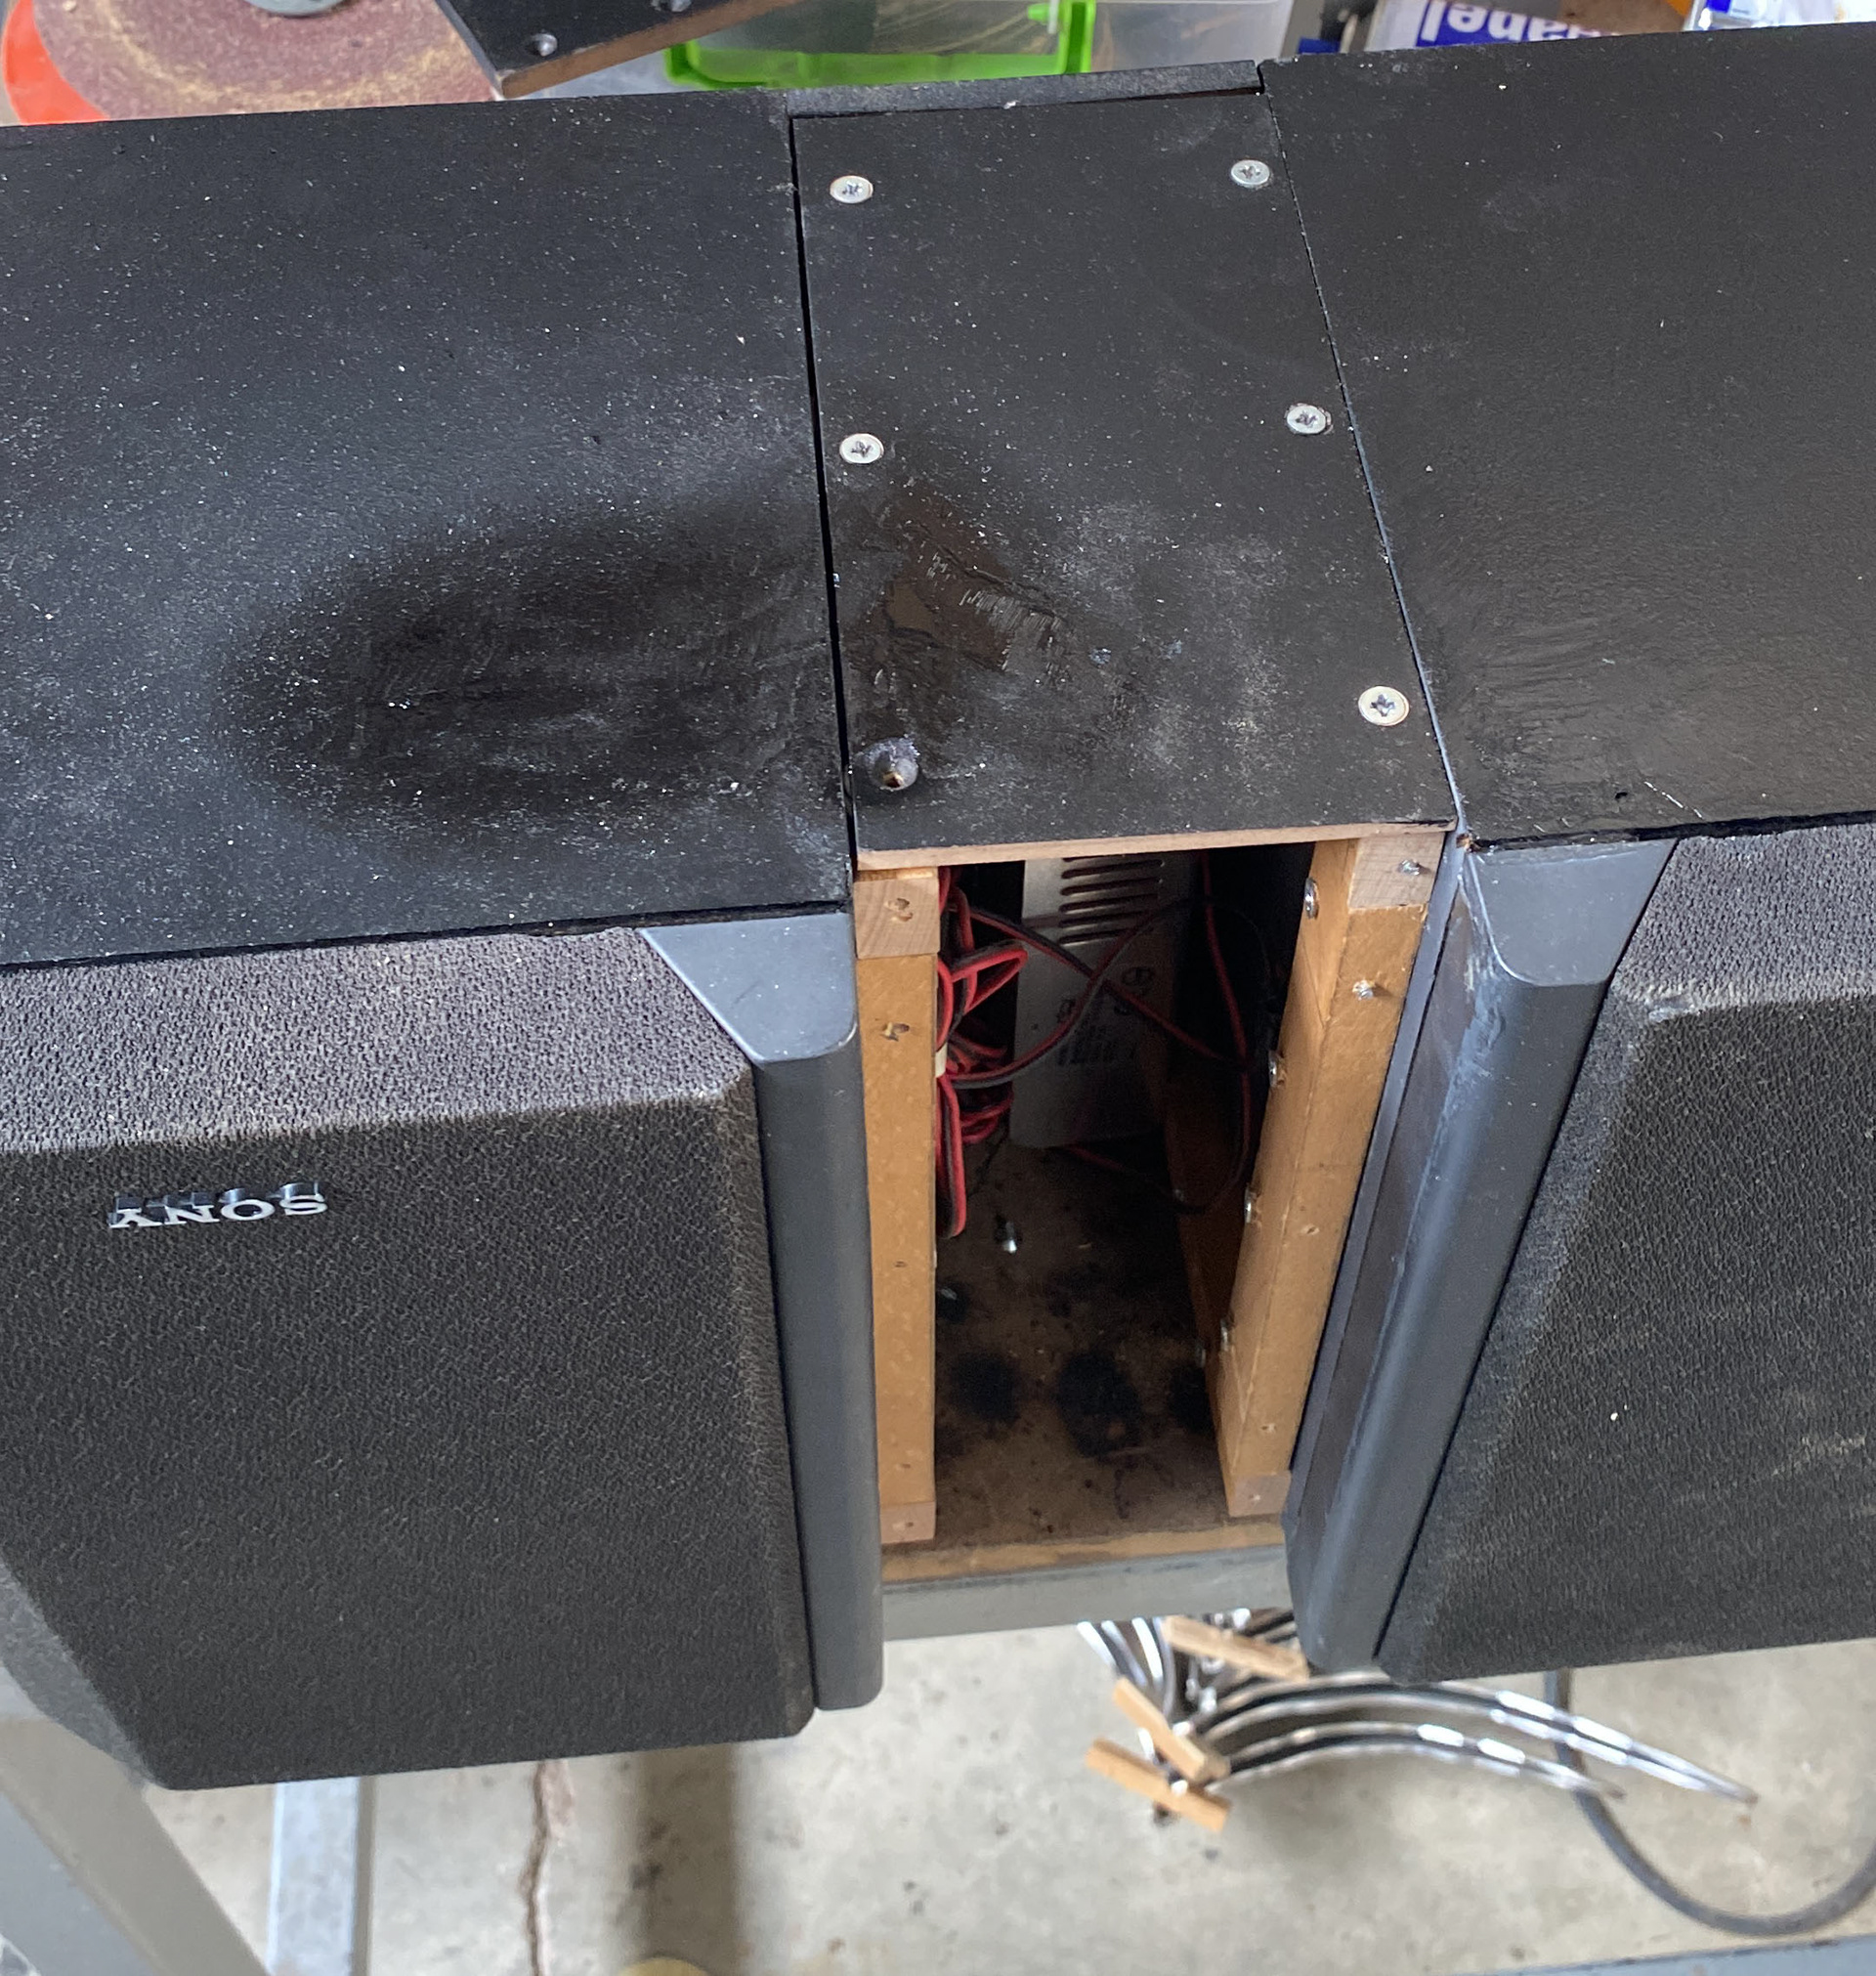
Image 8: Build shown after removal of the front panel and both amplifier units.

I sanded down the bottom section to prepare the surface for applying an adhesive felt layer.

Image 9: Sanding process of the bottom section in preparation for felt application.

Remember the angle grinder in the photo above—it will play a key role in this story, and, in my life as well.

Then I made a cutout on the front panel to accommodate the larger Sinilink amplifier.

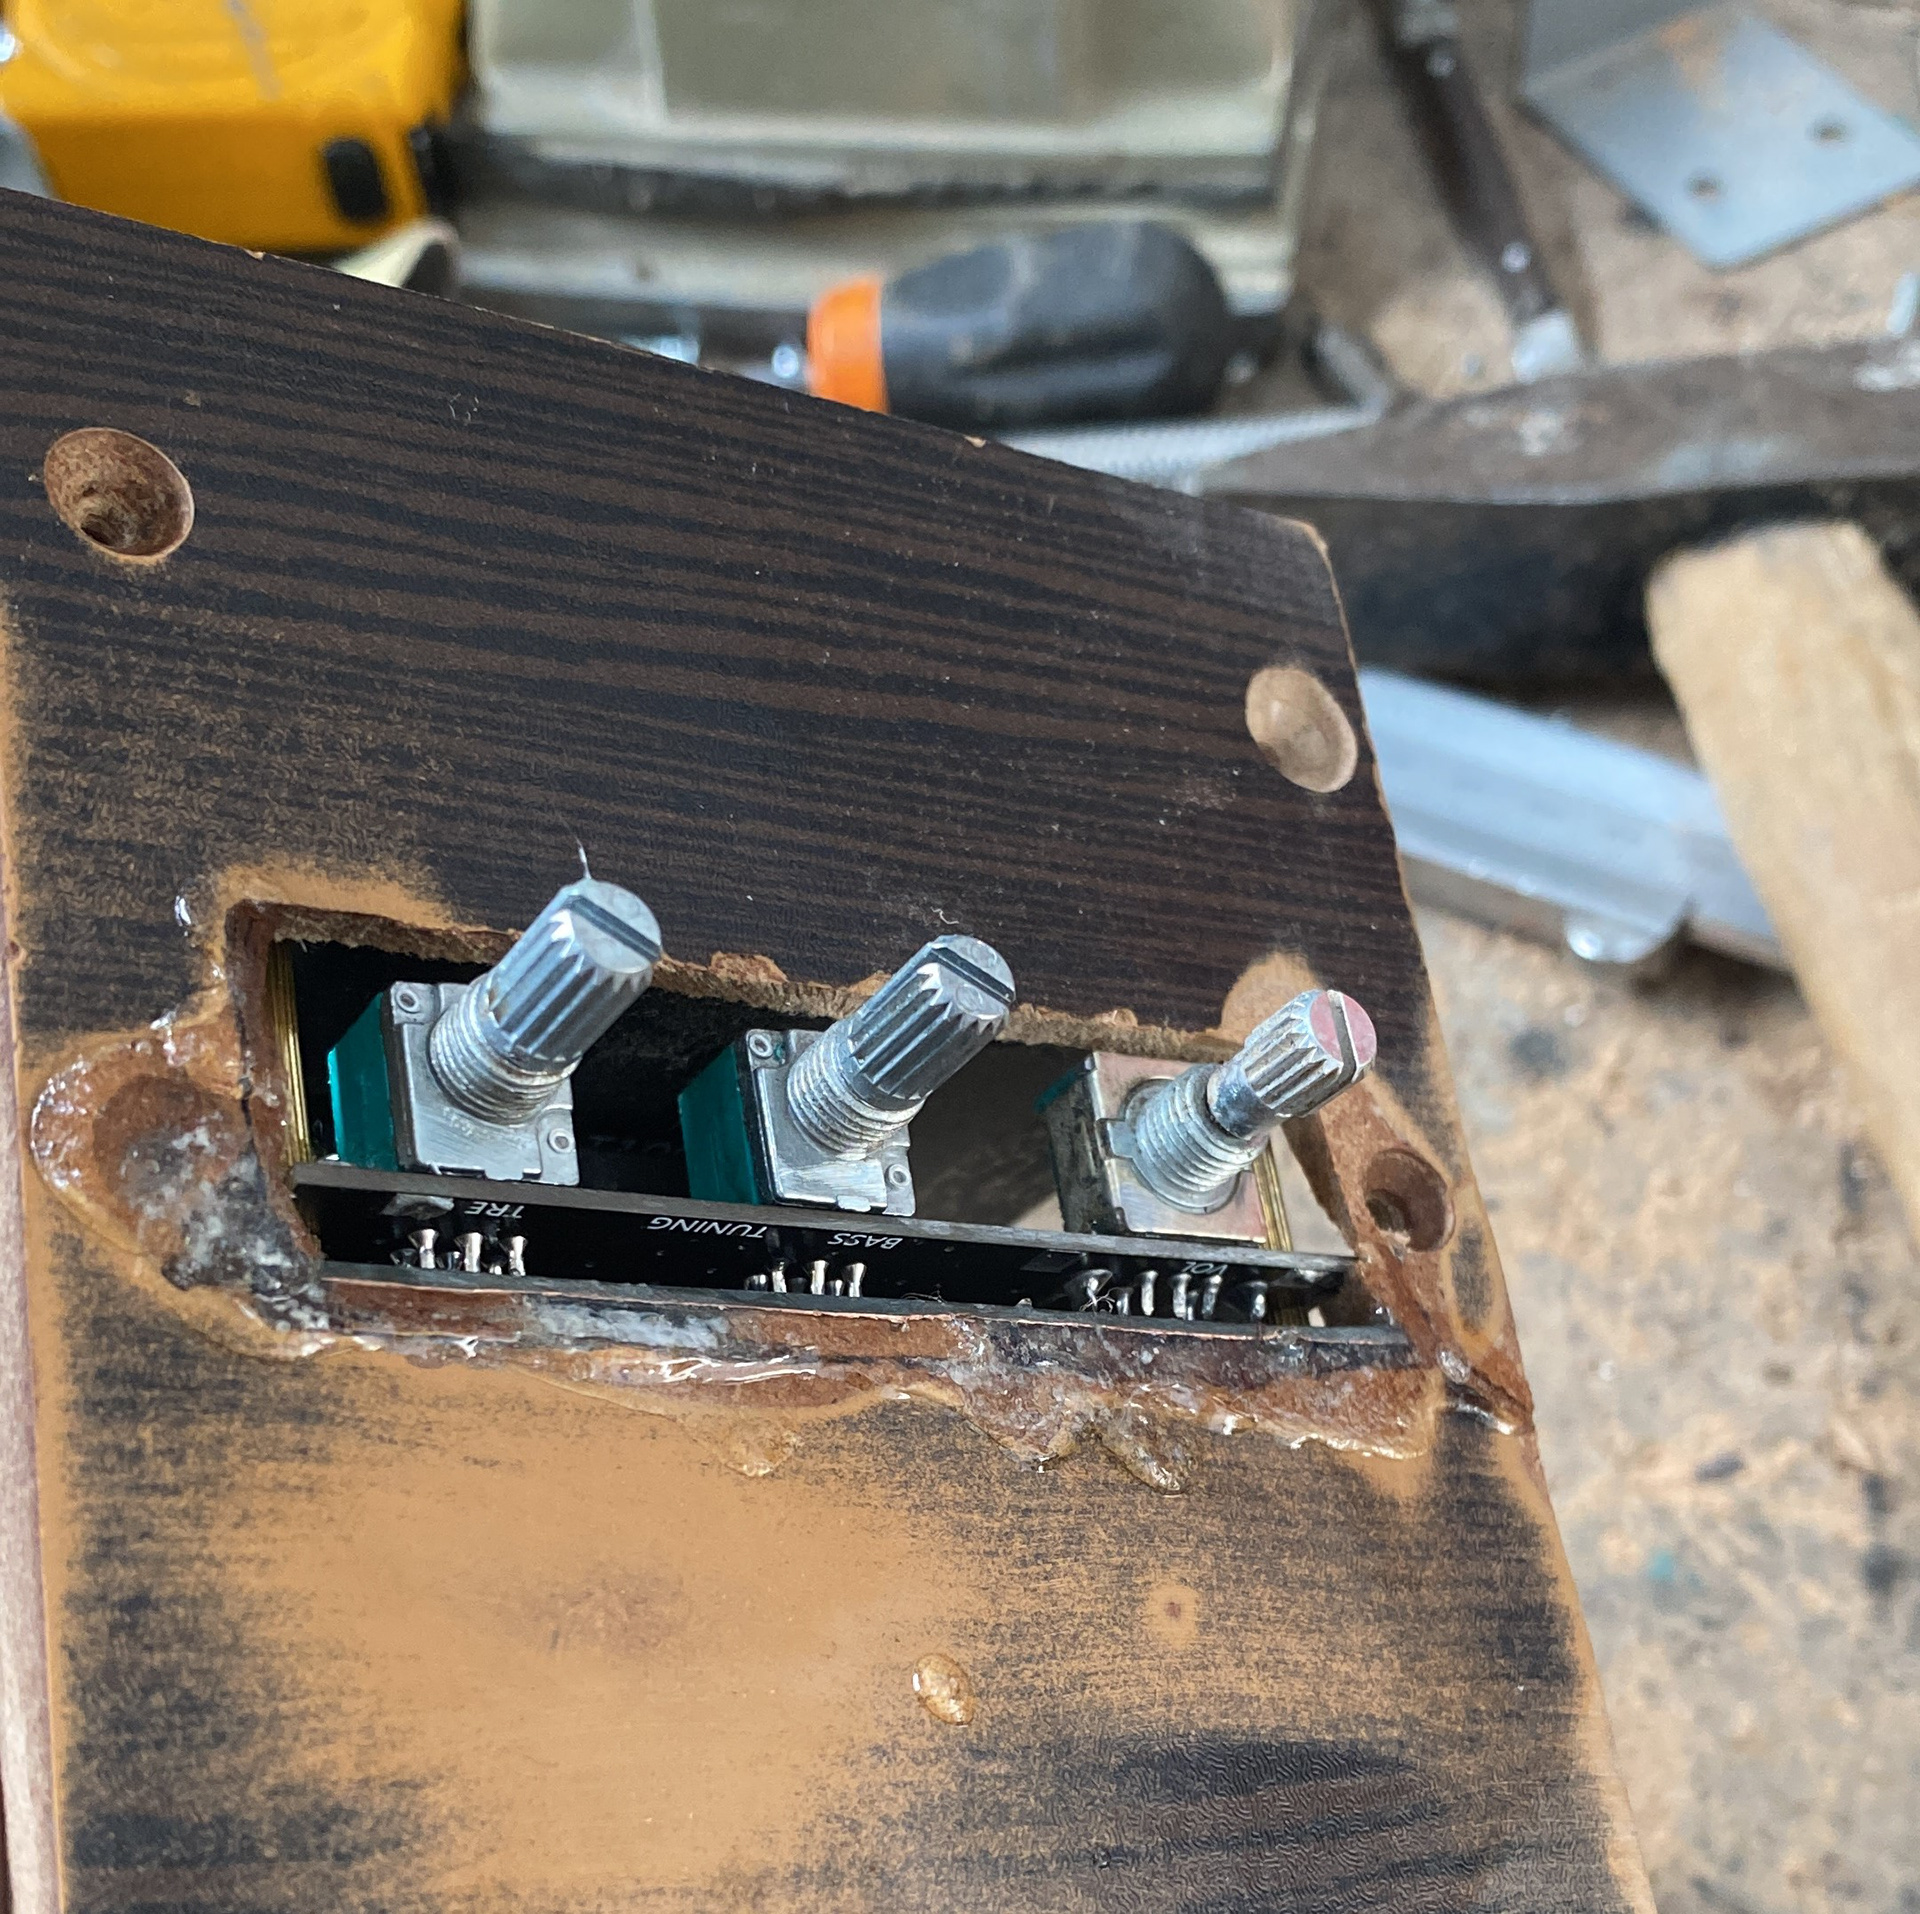
Image 10: Front panel with a cutout for the larger amplifier.

That was it for the day—or so I thought. I popped open a can of Coke and sat down on the floor. While casually browsing Instagram, I suddenly heard a machine noise. At first, I assumed it came from a neighbor’s workshop—after all, our workshop is in an old industrial zone with poor sound insulation.
But that thought quickly faded as the sound grew louder and closer, followed by abrupt impact noises.Remember the angle grinder I mentioned earlier?
Yeah. It was coming straight towards me.
​​​​​​​
Back to Top